
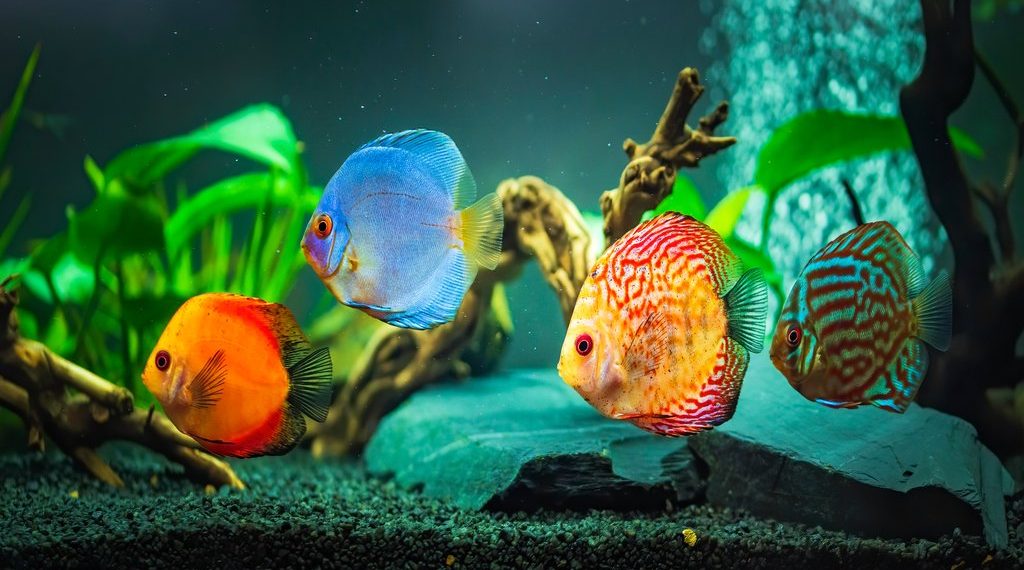
An aquarium needs frequent water changes and cleaning to ensure the health of fish and plants. There’s a number of factors that affect how often a tank needs to be cleaned, including the size of the tank, the amount of fish, and the number of plants. In general, more fish produce more waste, which means the tank needs to be cleaned more frequently.
If you’re not sure how often your tank should be cleaned, about once a week is a good starting point.
Getting Started
Before you get started, you’ll need to have some aquarium maintenance equipment, and a few household items at the ready.
- Clean bucket
- Gravel cleaner
- Glass scourer
- A towel or absorbent cloth (to deal with any spills)
- Aquarium water test kit
Step 1 – Dislodge Algae
Use your scouring sponge to dislodge all of the algae that’s growing on the aquarium glass, and any ornaments, rocks, and plants if possible.
There’s a couple of things to watch out for: Firstly, avoid catching any sand or gravel under your cleaning instrument, otherwise you’ll scratch the glass. Secondly, never introduce any soap or cleaning chemicals into the aquarium.
Step 2 – Gravel Clean & Water Change
Before starting a water change, you should unplug any equipment that will end up below the water level. Some aquarium heaters, for example, can explode when they’re not fully submerged.
Follow the instructions on your gravel cleaner to start a siphon, and push it into your gravel to dislodge any fish waste or uneaten food trapped in the substrate. You should keep cleaning until you’ve siphoned about 25% of the aquarium’s water out of the tank.
One small tip: Always siphon water into a bucket rather than a drain, just in case you accidentally suck up a fish.
Step 3 – Clean the filter
Filters can only hold a finite amount waste before their filtration abilities diminish. About once a month (or every few months for a larger canister filter), the filter needs to be cleaned.
Lots of beneficial bacteria builds up the aquarium filter over time. The best way to avoid losing this good bacteria when cleaning your filter is to clean it in a bucket of water sourced from the fish tank. Your goal isn’t to make the filter sponges perfectly spotless, it’s merely to remove excess gunk so the filter is able to continue functioning.
Step 4 – Replace aquarium water
We removed about a quarter of the water in step 2, so now we need to fill it back up.
Before you start adding water, it’s a good time to check your aquarium’s pH and nitrate levels. If you need to adjust the pH up or down, you can add the chemical into the new water prior to pouring it into the tank. This ensures it’s well dissolved before it comes into contact with your fish.
Whenever you add tap water to the tank, it should treated with a water conditioning product such as Blue Planet Water Conditioner. This will remove any harmful chlorine and chloramine that may have been added to the water.
Finally, try to add water that’s at roughly the same temperature as the water in the tank. Sudden temperature spikes and drops can be extremely stressful for fish, and in some cases can actually kill them.
Step 5 – Turn everything back on
I can’t even count the number of times I’ve cleaned the aquarium and forgotten to turn the heater back on afterwards. Once you’ve got the tank full of water, the heater, light, and filter running again, and any puddles cleaned up—you’re done!